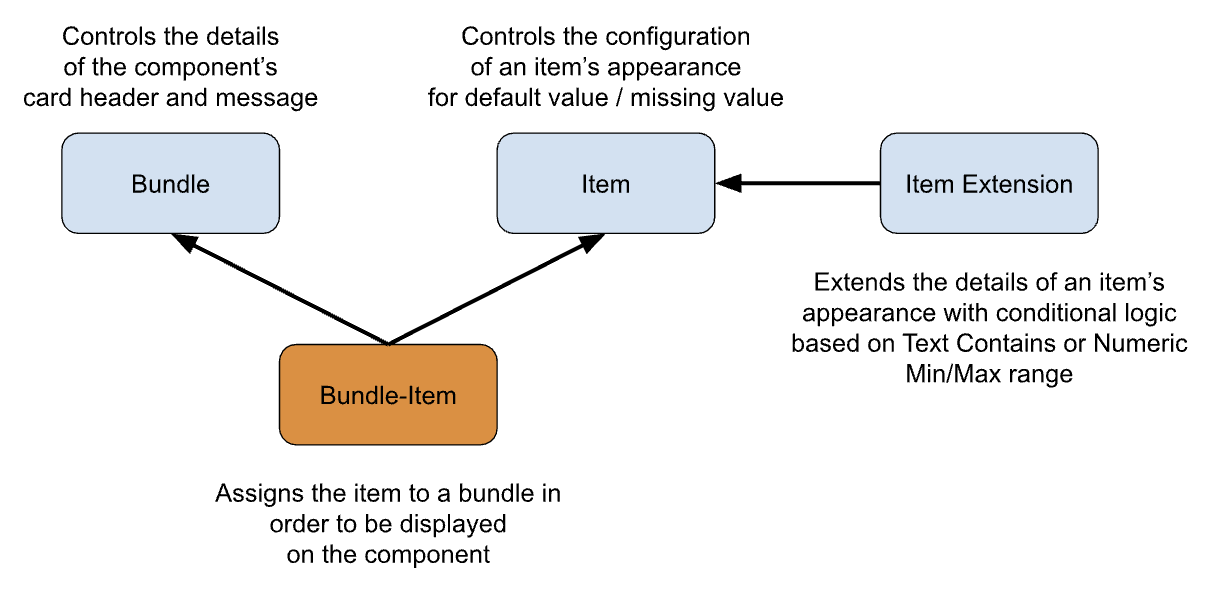
The Indicator Bundle Items link an Indicator Item to an Indicator Bundle. This allows you to set up different bundles that will display at different times or for different sets of users, but re-use the same Indicator Items on multiple Indicator Bundles.

Indicator Bundle Item
An Indicator Bundle Item displays the Indicator Item on the Indicator Bundle. This allows for one Indicator Item to be created and displayed on multiple Indicator Bundles.
Add a new Indicator Bundle Item
- Go to the Indicators Setup Tab
- Open the Indicators Setup Menu
- Use the New button to add a new Indicator Bundle Item
Edit an existing Indicator Bundle Item
- Go to the Indicator Settings Tab
- Choose the Indicator Bundle from the drop down list. The existing bundle details will be displayed.
- Click the Edit Bundle button
- Click Edit next to the Indicator Bundle Item in the related list
OR, alternatively:
- Edit the Settings in CMDT:
- Navigate to Salesforce Setup > Custom Metadata Types
- Scroll to Indicator Bundle Items, and click Manage Records
- Click Edit next to the Bundle Item you want to edit
Indicator Bundle Item Fields
| Field | Example Value | Description | Tip |
|---|---|---|---|
| Label | Contact Default Mobile | Give it a descriptive name | Include the Object Name |
| Indicator Item Name | Contact_Default_Mobile | The API name | |
| Indicator Bundle | Contact Default | Choose the Indicator Bundle from the List | |
| Indicator Item | Contact Mobile | Choose the Indicator Item from the List | |
| Order | 10 | The Order this Indicator will appear in the Bundle |
Tips
- Type part of the name in the lookup fields and it will auto complete them on Save
- Use increments of 10 or more when setting up the Order, so you can add new Indicators in between without re-ordering the whole bundle. Eg 10, 20, 30, then add a new Indicator at 14 later.
Next Steps
- Add Optional Extensions
- Add the Bundle to your Lightning Page and check The Key